
Thank you so much for purchasing the “Chibbit Avatar”! I’m Hiwa Kuratsu.
Using this base template for PNGtuber avatars, feel free to draw and customize your own character however you like to create your one-of-a-kind PNGtuber avatar! 🎨✨
👉日本語ページはこちら
If you’re just browsing and haven’t purchased it yet, be sure to check it out!

Please note: Hair, clothing, and accessories are only included as samples.
This product is a template only—so you’ll complete it with your own creative touch.
Now then, let’s go over how to use it!
Don’t worry—it’s easier than you might think 😊
もくじ
Unzipping the ZIP file
First, unzip the downloaded file: Chibbit Avatar_BASE.zip.
You can use the default unzipping tool included with your operating system—no need to install anything special.
The contents of the ZIP file are:
Chibbit Avatar_BASE.psd(the main template file)Sample PNGs(a folder containing sample exported PNGs)
Prepare a paint tool that supports PSD files
Next, you’ll need a drawing/paint tool that supports Photoshop (.psd) format.
Don’t worry—there are free tools available! Here are some examples you can use:
- Adobe Photoshop
- CLIP STUDIO PAINT
- ペイントツールSAI/SAI2
- MediBang Paint (freeware)
- FireAlpaca (freeware)
Open the base template
Now, open the file Chibbit Avatar_BASE.psd!
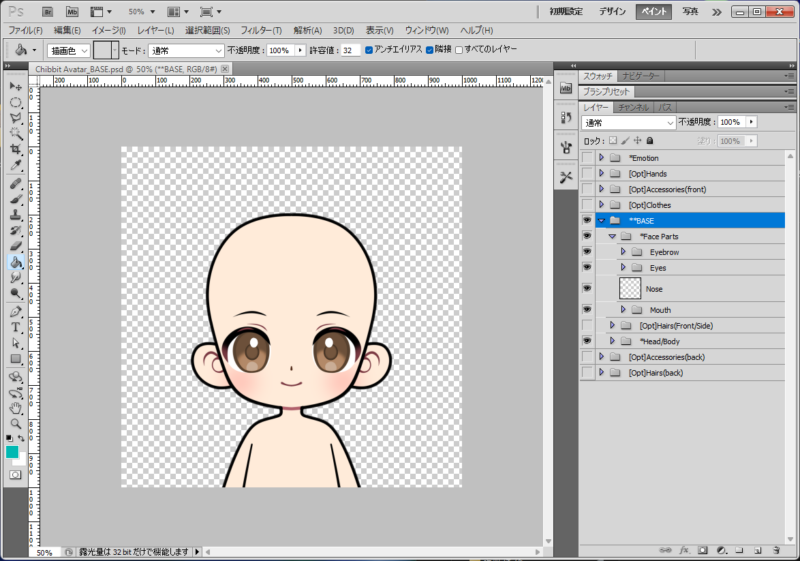
The image should open at 1000×1000 pixels with a transparent background.
All elements are neatly layered and organized into folders by type, making it easy to customize.
Toggle folders/layers as needed
Basically, just turn ON (👁) the parts you need, and turn OFF the parts you don’t.
For example, make sure to toggle the mouth layers properly depending on your expression choice.
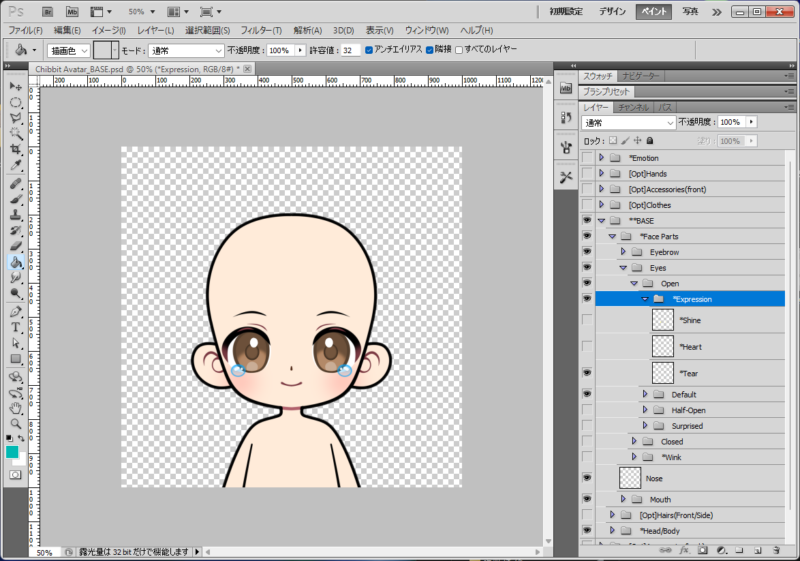
Example: Turning ON “tears”
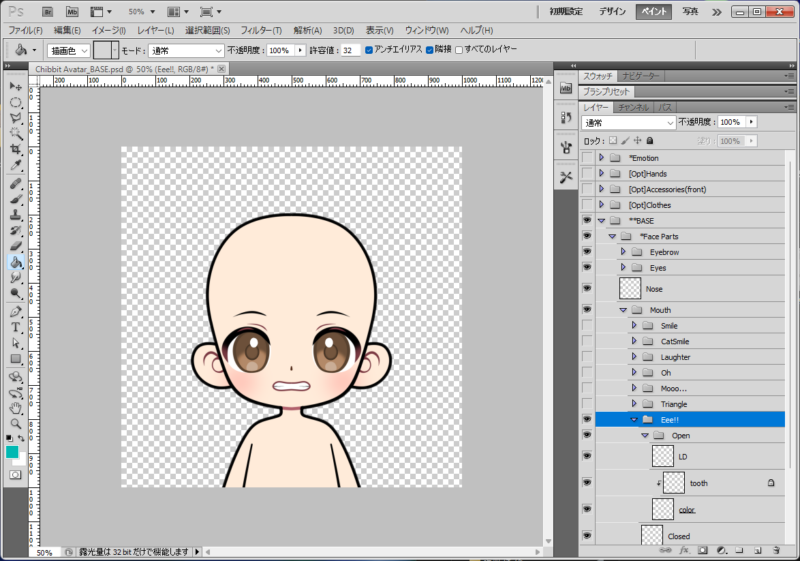
Example: Switching “teeth” ON/OFF

Folder / Layer structure (Layer Tree Overview)
I tried to name the folders and layers clearly, but let’s take a quick look just in case.
※ [Opt] = Optional
*Emotion
 ├Anger
 ├Shock
 ├Sweat
 ├Shine
 └Heart
[Opt]Hands
 └Game Controller
[Opt]Accessories(front)
 └Glasses
[Opt]Clothes
 └Parker
**BASE
 ├*Face Parts
 │ ├Eyebrow
 │ │ ├01_default
 │ │ ├02_raised
 │ │ ├03_lowered
 │ │ └04_hmmm
 │ ├Eyes
 │ │ ├Open
 │ │ │ ├*Expression
 │ │ │ │ ├*Shine
 │ │ │ │ ├*Heart
 │ │ │ │ └*Tear
 │ │ │ ├Default
 │ │ │ │ └+eyelashs
 │ │ │ ├Half-Open
 │ │ │ │ └+eyelashs
 │ │ │ └Surprised
 │ │ │   └+eyelashs
 │ │ ├Closed
 │ │ │ ├Default
 │ │ │ │ └*Tear
 │ │ │ ├Smile
 │ │ │ │ └*Tear
 │ │ │ └Ouch!
 │ │ └*Wink
 │ ├Nose
 │ └Mouth
 │   ├Smile
 │   │ ├open
 │   │ └closed
 │   ├CatSmile
 │   │ ├open
 │   │ └closed
 │   ├Laughter
 │   │ ├open
 │   │ └closed
 │   ├Oh
 │   │ ├open
 │   │ └closed
 │   ├Mooo...
 │   │ ├open
 │   │ └closed
 │   ├Triangle
 │   │ ├open
 │   │ └closed
 │   ├Eee!!
 │   │ ├open
 │   │ │ └tooth
 │   │ └closed
 │   └Wow!!!!
 │     ├open
 │     └closed
 ├[Opt]Hairs(Front/Side)
 │ ├Front
 │ │ └SAMPLE
 │ └Side
 │   └SAMPLE
 ├*Head/Body
 │ ├Head
 │ ├Body
 │ └Skin Tone
 │   ├*Pale
 │   ├*Cheek
 │   ├01
 │   ├02
 │   ├03
 │   ├04
 │   ├05
 │   └custom
 ├[Opt]Accessories(back)
 │ └Ribbon
 └[Opt]Hairs(back)
   └SAMPLE
Here are some commonly used layer naming conventions:
- LD: Line Drawing
- Color: Base Coloring
- color tress: Color trace (used to blend the outlines into the color layer)
You’re free to turn color tress ON or OFF depending on your preference.
You can also modify the linework and coloring as you like—make it your own!
How to Change Colors
**BASE
├*Face Parts
│ ├Eyebrow
│ │ ├01_default
│ │ ├02_raised
│ │ ├03_lowered
│ │ └04_hmmm
│ ├Eyes
│ │ ├Open
│ │ │ ├*Expression
│ │ │ │ ├*Shine
│ │ │ │ ├*Heart
│ │ │ │ └*Tear
│ │ │ ├Default
│ │ │ │ ├eye shape
│ │ │ │ └Eye
│ │ │ │ ├hi-light
│ │ │ │ └eye
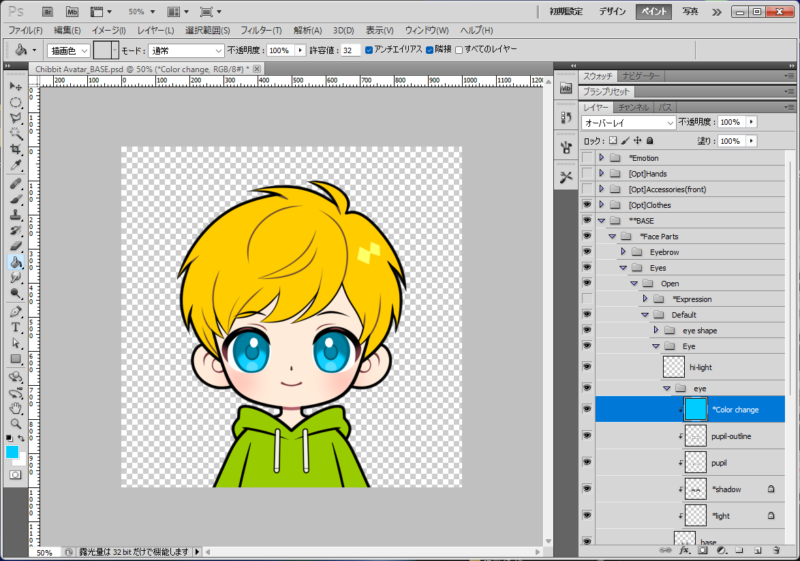
│ │ │ │ ├*Color change 👈This is the layer you'll be working on!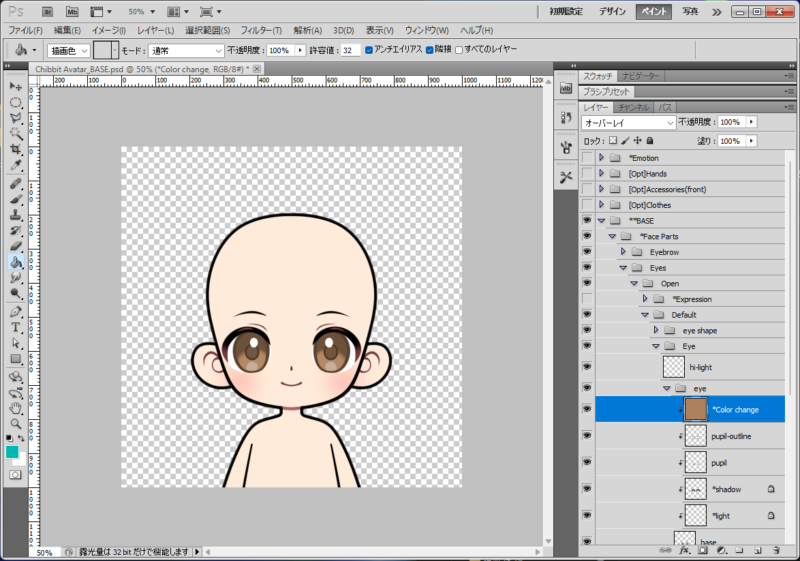
Look for a layer called *Color change.
Fill this layer with any color you like using the bucket tool or brush.
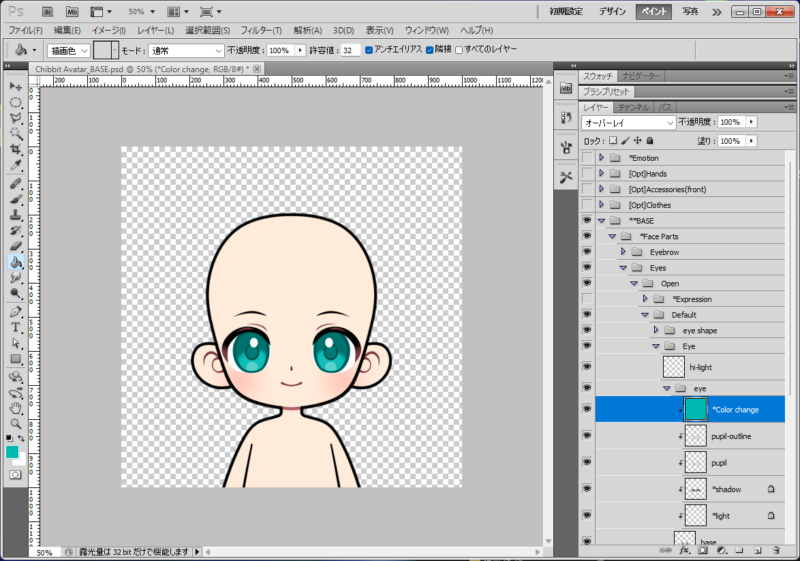
Here, we changed it to an emerald green!
Skin tones come with 5 preset options, plus a custom color slot.
You can freely change the hair, clothing, and glasses colors too by filling in their Color change layers.
Try experimenting and make your avatar truly yours!
Drawing Your Own Custom Parts
This is the heart of the product—drawing and customizing your own parts!
Let’s use “Hair” as an example.
Inside the folder [Opt]Hairs(Front/Side), you’ll find a subfolder called SAMPLE.
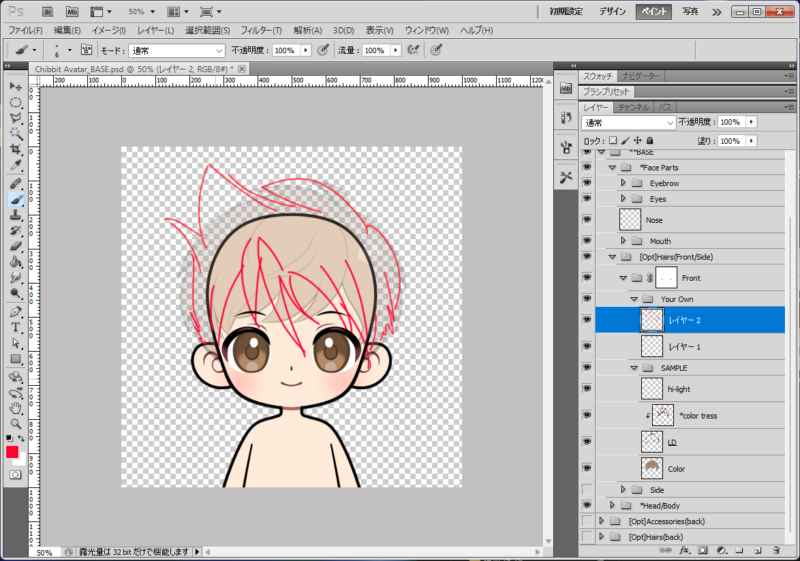
Use it as a reference and create a new folder and layers to draw your own design freely!
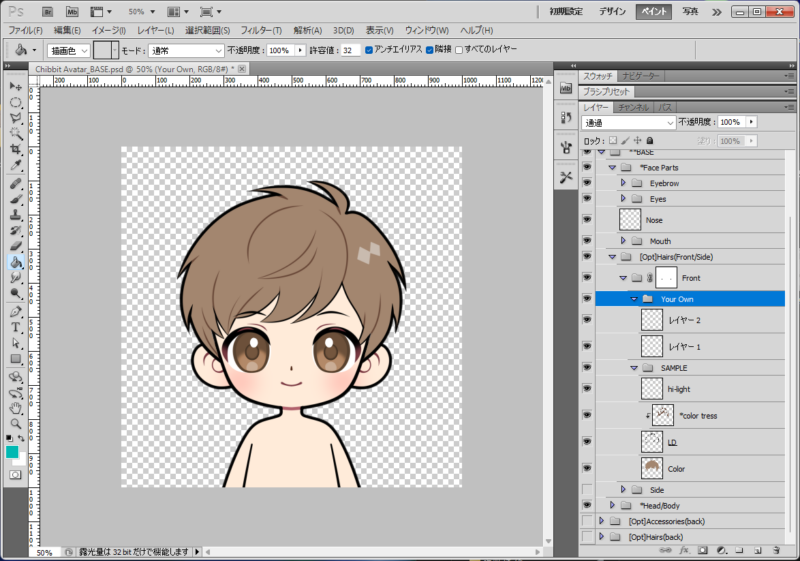
You can lower the opacity of the SAMPLE layer to trace or use it for size and placement reference.
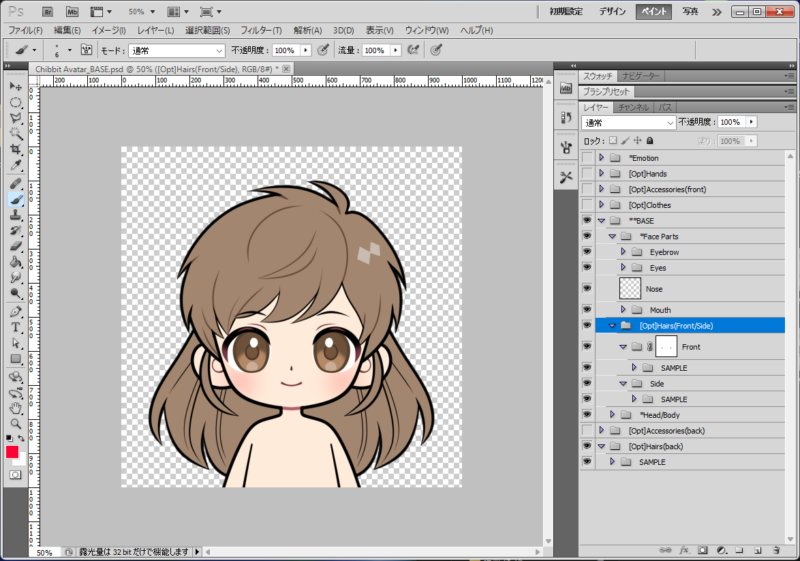
Side hair and back hair are stored in separate folders.
Back hair can be found in [Opt]Hairs(back). Use them as needed!
You can also reorder the folders or layers to suit your layout.
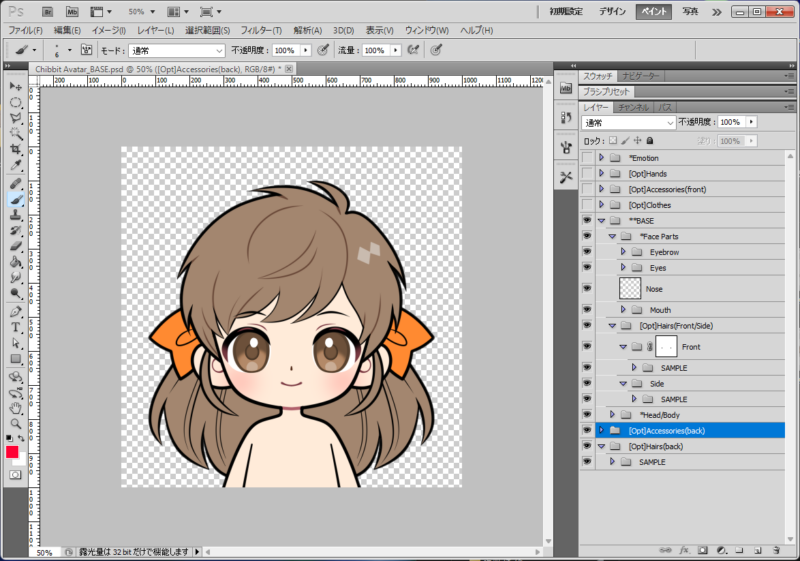
For example, I wanted to place a “ribbon” in front of the back hair, so I moved that folder forward.
If you’re adding something like angel wings as a back accessory, placing [Opt]Accessories(back) at the very bottom would be a good idea.
Of course, you’re also welcome to add your own layers or folders as you like!
Here’s what it looks like with all optional parts turned ON 😊
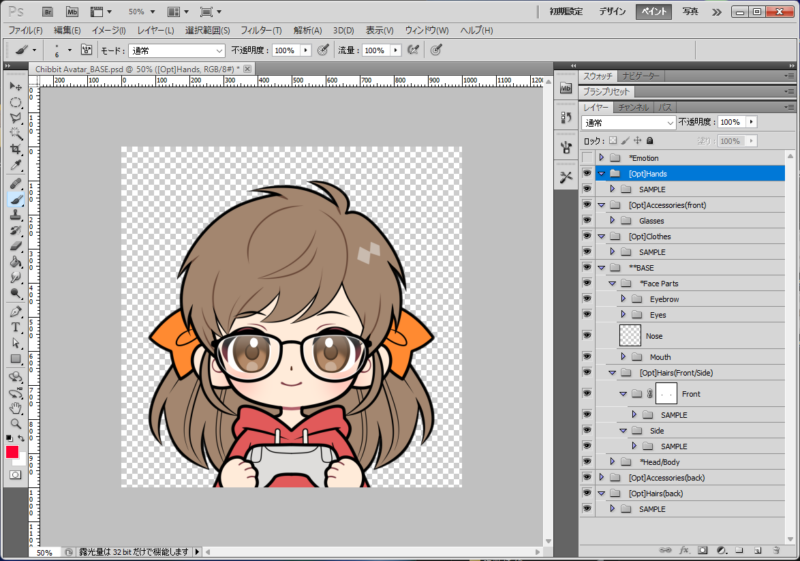
In the hand parts, I’ve added a game controller, but feel free to let your character hold anything you like.
Make it your own! (You’re also welcome to use it as-is.)
Final Thoughts
What do you think? Once you get used to it, you’ll find it easy and fun to customize!
If you have any questions, feel free to reach out via the comment section on this blog or BOOTH.
Although I’m not fluent in any language other than Japanese,
I’ll do my best to respond using translation tools! 💪✨
In the future, I also plan to release expansion packs for hair, clothes, expressions, accessories, and more—along with pre-customized overlays for those who want to use the avatar but prefer not to draw.
Now go and enjoy streaming with your very own PNGtuber avatar!